Equinix Metal
Equinix Metal is a cloud-like platform that enables users to easily and instantly create environments leveraging their highly scalable metal compute infrastructure. Fluid allows users to leverage Equinix Metal to stand up large and scalable environment from the press of a button and begin deploying, complex and distributed workloads in a matter of minutes. The following tutorial will walk you through standing up a three node compute cluster in Equinix Metal, deploy a Kubernetes environment and gain access from your local machine.
Create the cluter
Begin by creating and defining the cluster in the Fluid CloudManager console. Select “Metal Environment” and begin the Wizard flow.
Dashboard → Environments → Claim Your Environment
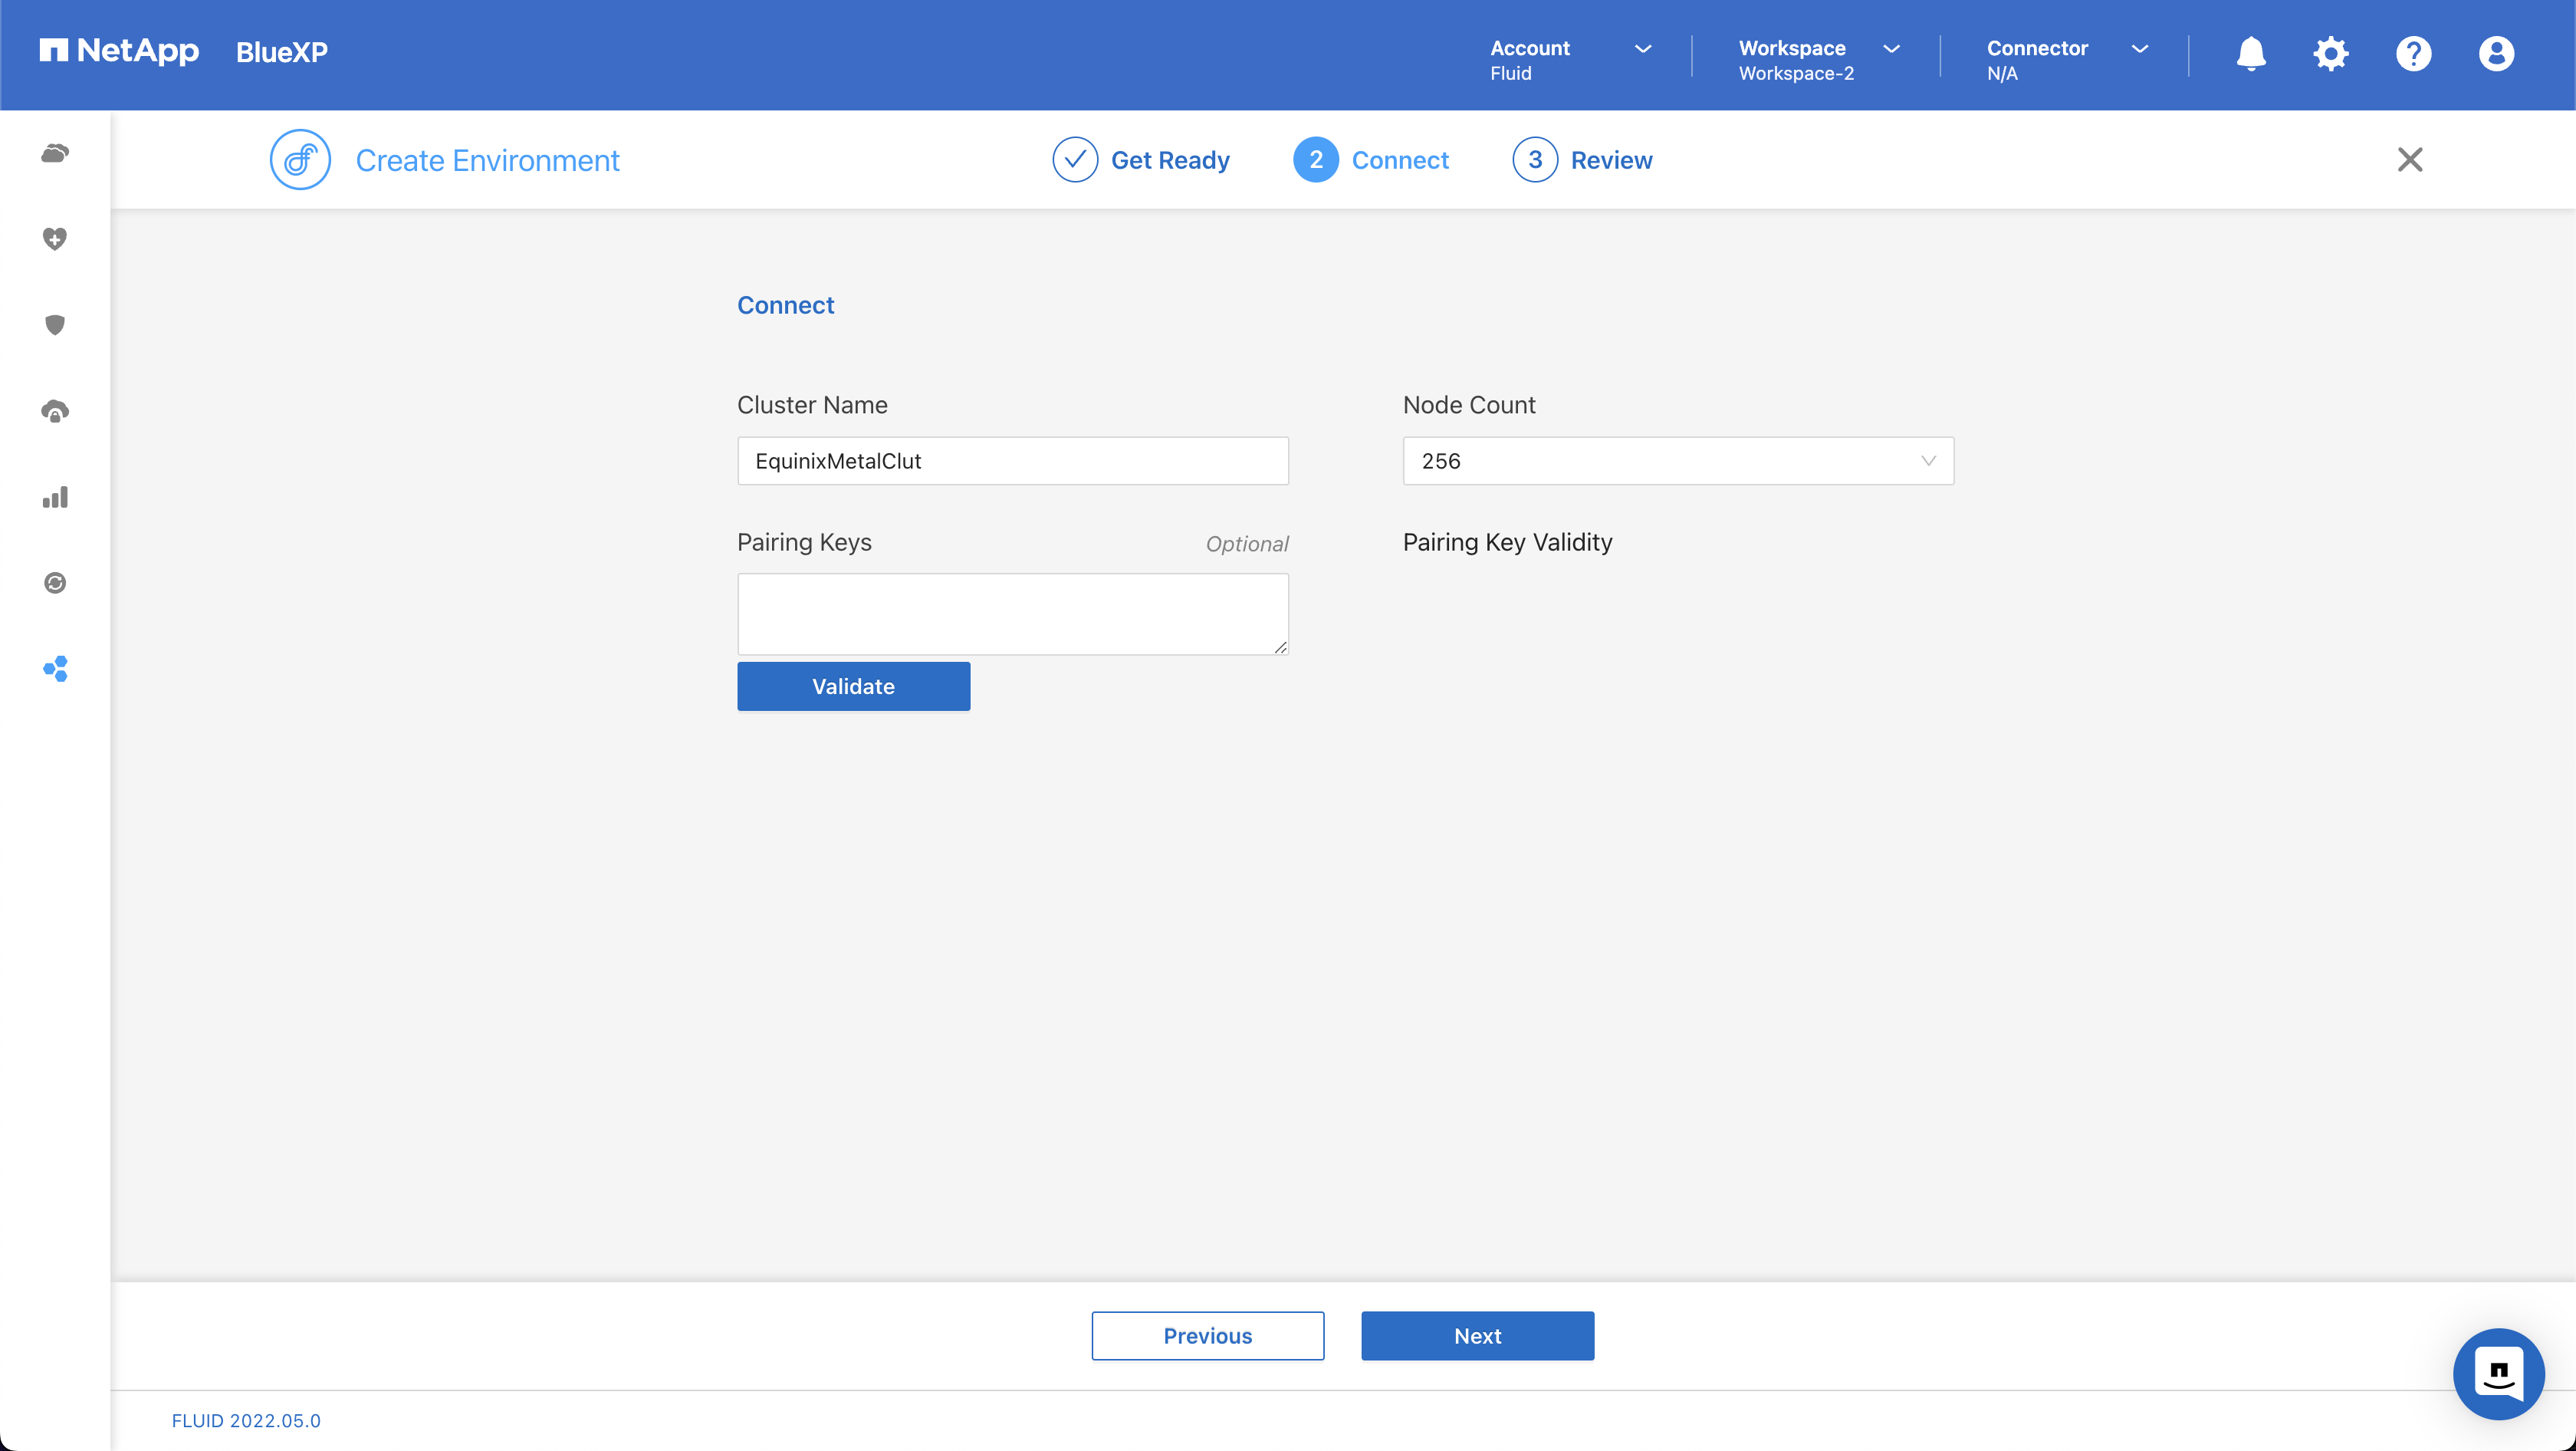
When connecting to your cluster, you can ignore the need to supply pairing keys as pairing information can be automatically supplied to Metal via Fluid’s PXE implementation. Simply supply a cluster name and your anticipated node count. Anticipated node count is required to generate the number of internal IP addresses for Fluids hybrid cloud networking engine.
Once you have created your environment, you’ll be redirected to the environments table and you should see your new environment listed as “Connected”.
Get Ready To Add Hardware
From the environments table, select your new environments “Environment Info” button. This will take you into the “Environment Details Page”. Here’ll you’ll noticed two key sections; Nodes and PXE Boot Keys.
Begin by adding a new PXE boot key. This enables Metal (and other PXE Bootable environments) to retrieve the relevant configuration and join the cluster on boot. In the modal, you’ll need to name your PXE boot key and select “Generate Boot Key”. Once your key is selected, you must select “Equinix” in the format dropdown, which will generate your unique PXE pairing key.
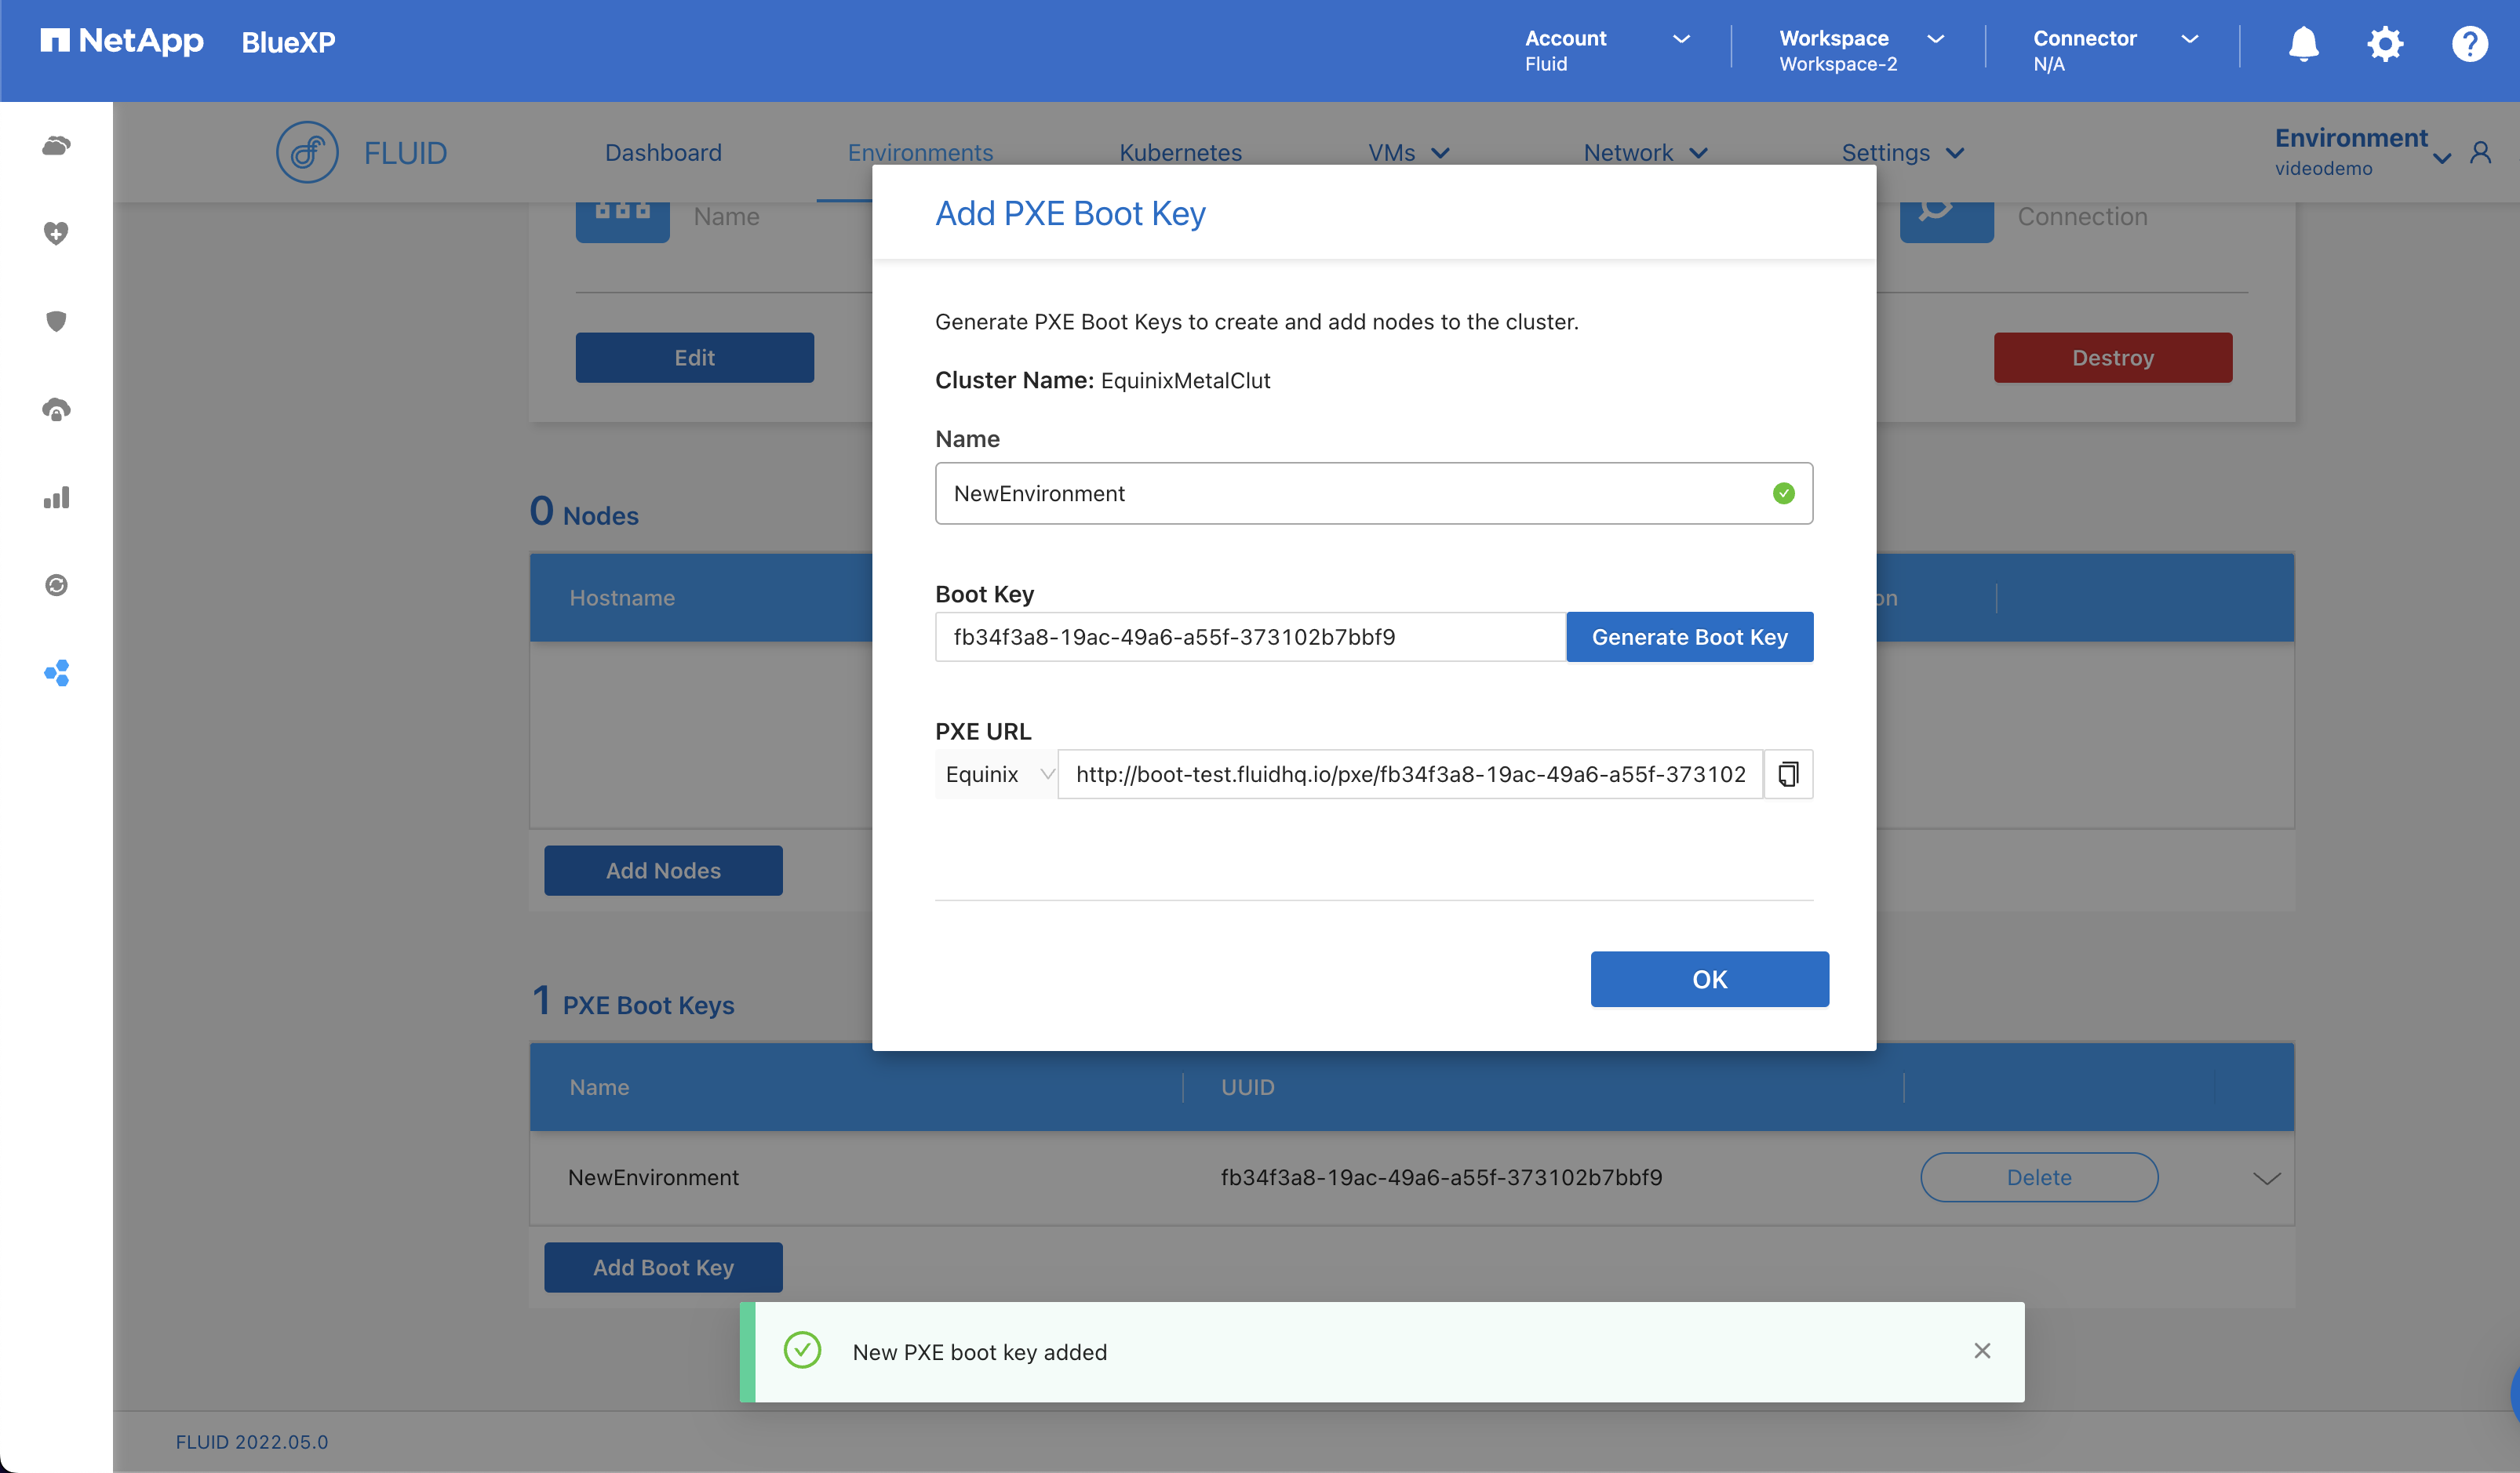
Copy the pairing key to your pastebin
http://boot.fluidhq.io/pxe/fb34f3a8-19ac-49a6-a55f-373102b7bbf9/equinix/boot.ipxe
Turn up some Metal!
Now we’re ready to turn up some metal!
Jump on over to the Metal console and create some new Bare Metal Servers
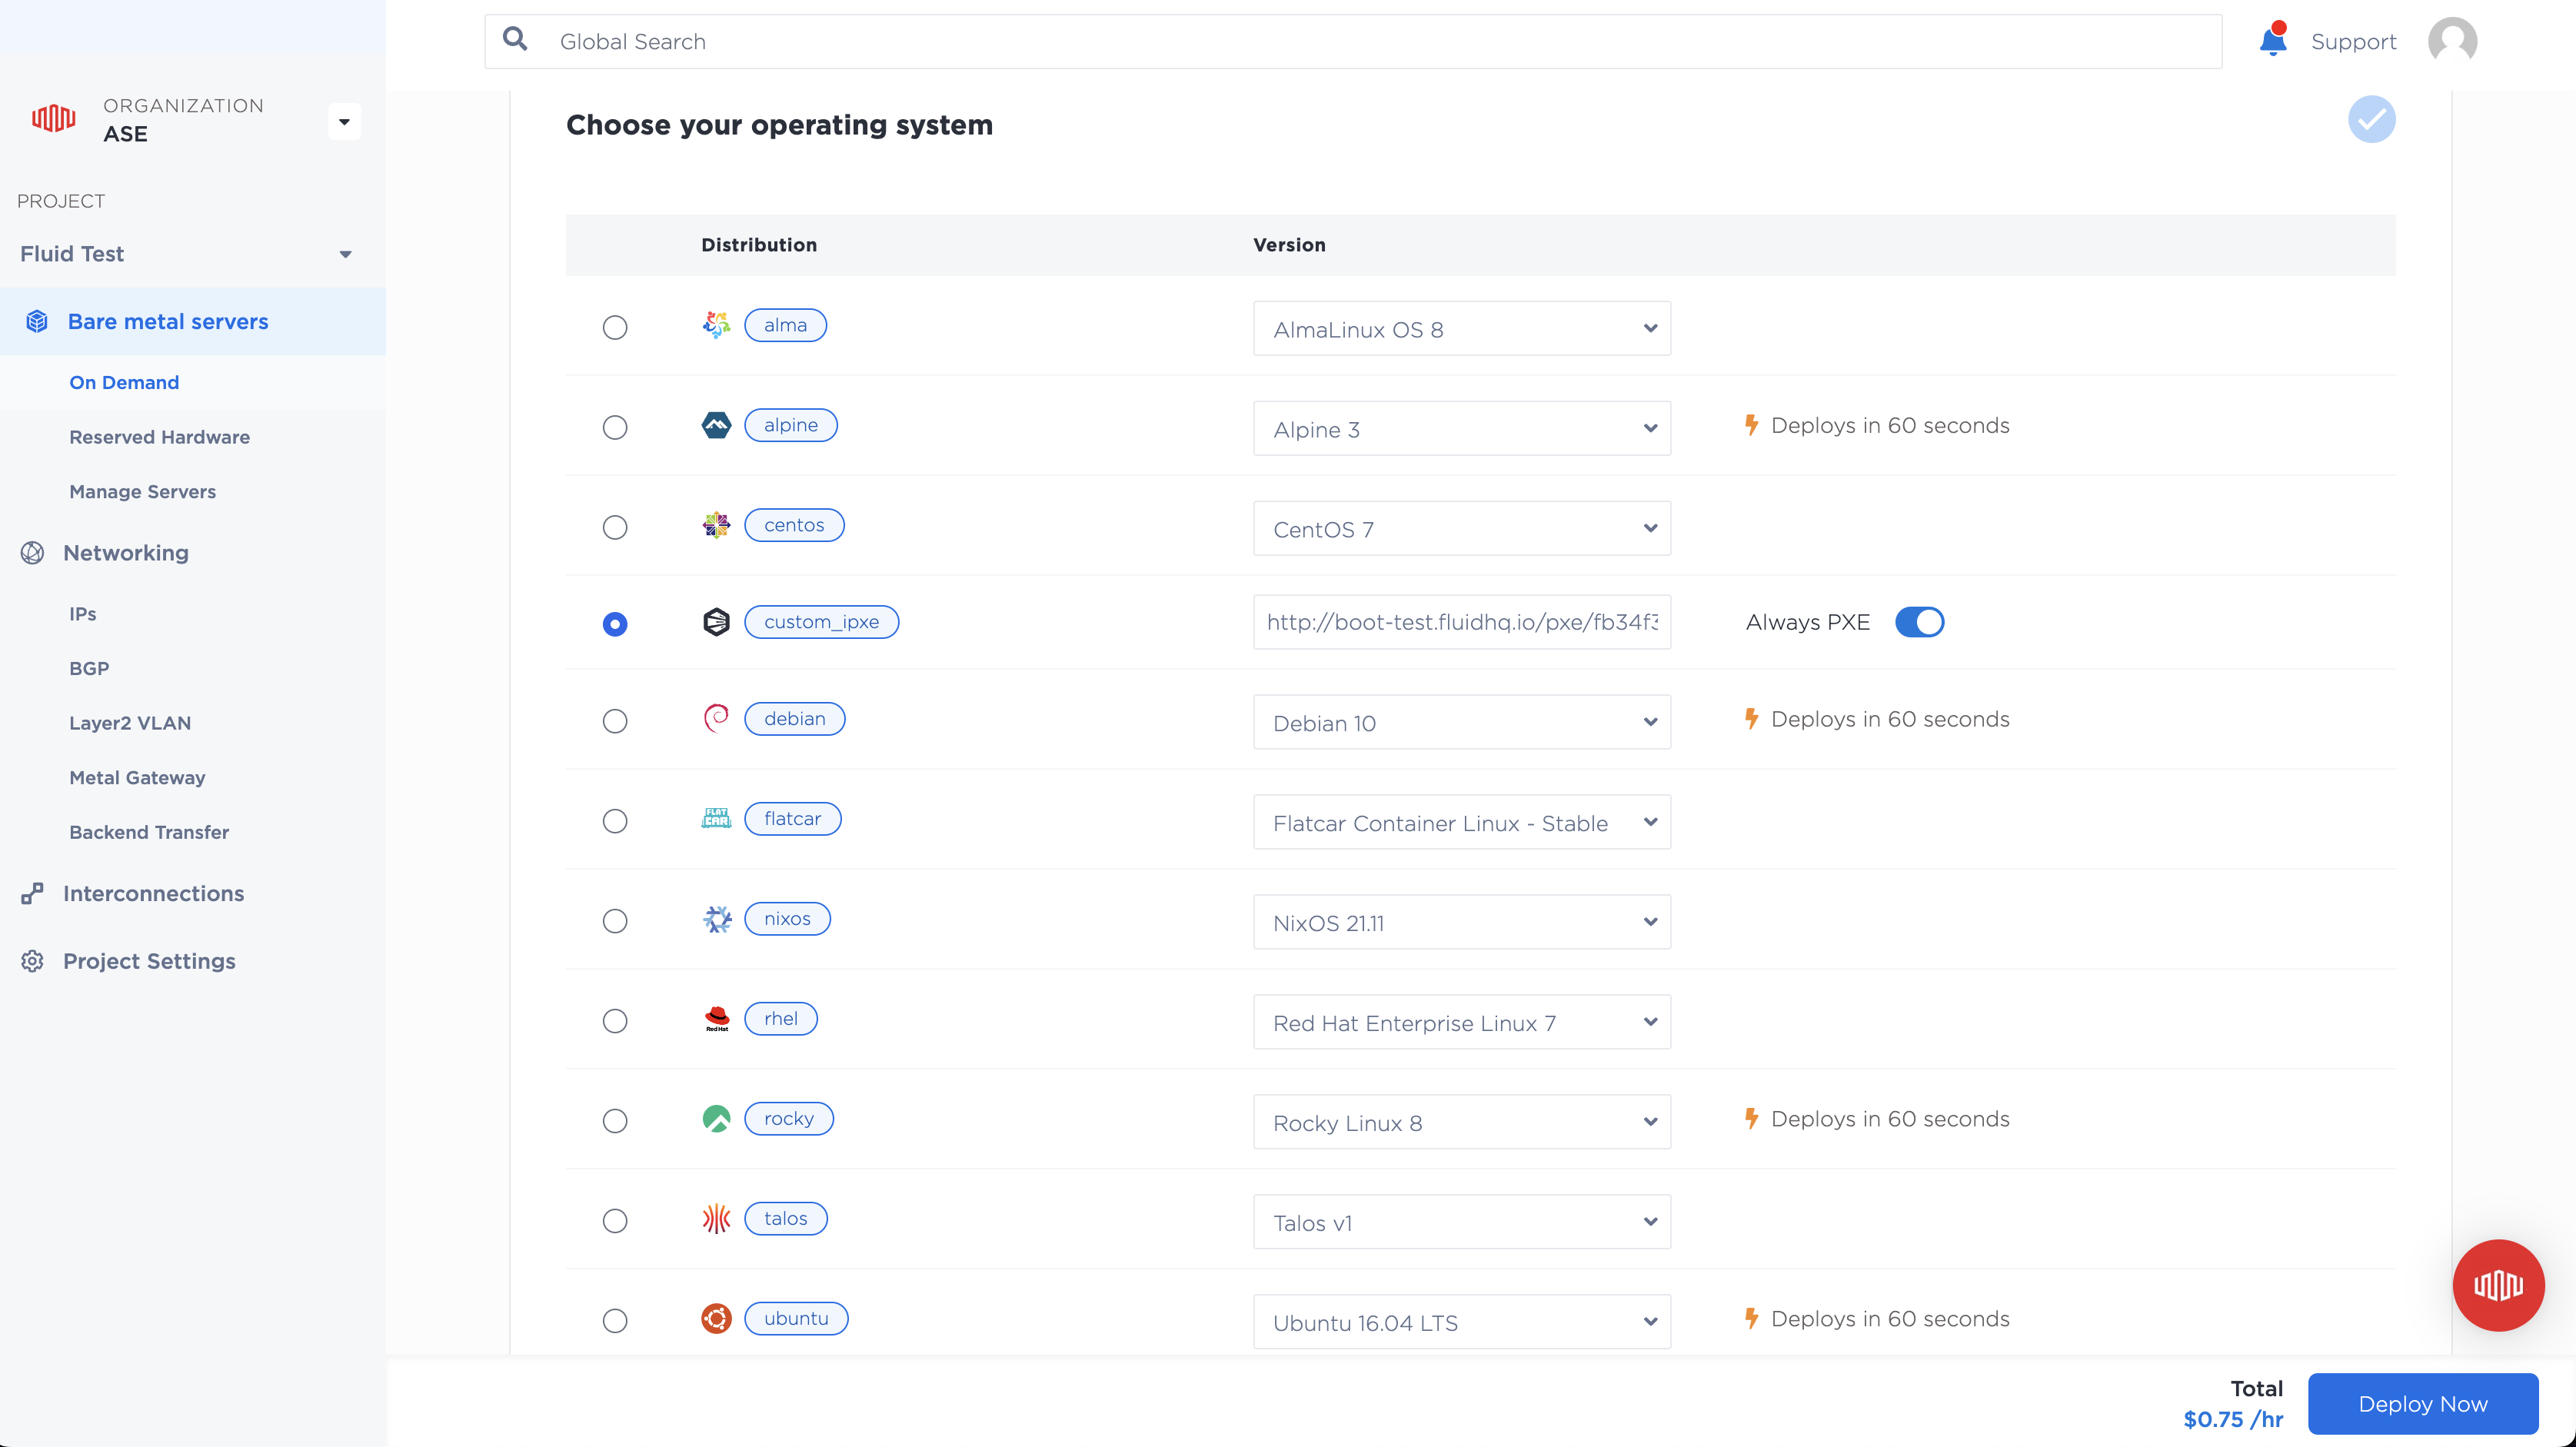
Dashboard → Bare Metal Servers → On Demand
Select a server type (I’m going to choose c3.small.x86 here) and scroll down to “Choose your operating system”. Select custom_ipxe and in the IPXE Script URL box enter the URL from the previous step, ensuring you’ve select the “Equinix” URL. Ensure you select “Always PXE” to enable Fluid’s immutable nodes.
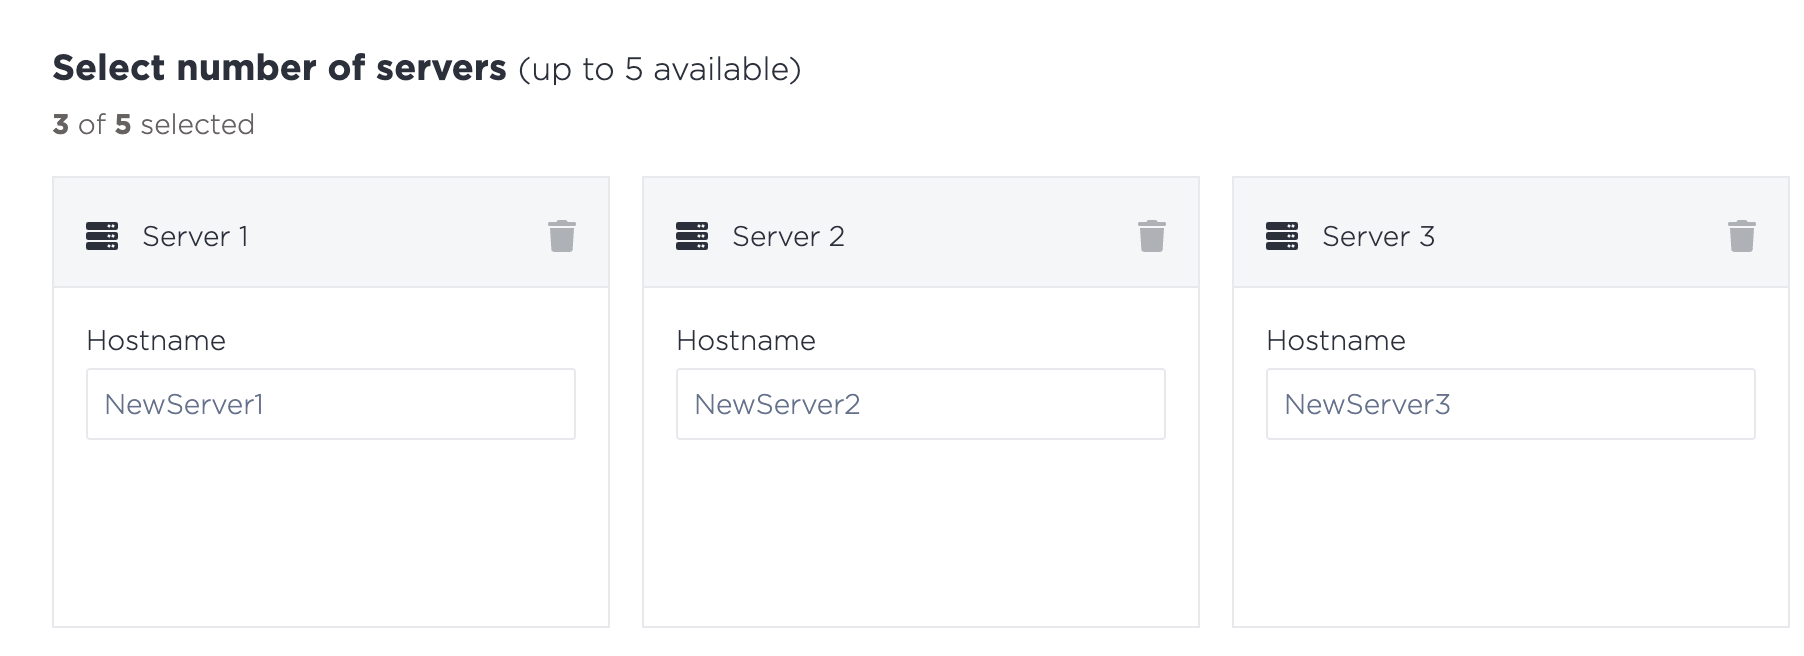
At “Select number of servers” you can define your servers and their names. Because Fluid establishes a clustered Quorum, it’s important you select an odd number of nodes. Here, we’re going to create 3.
Continue to “Deploy Now” and wait for the servers to complete their deployment. By our count, it takes about 6 minutes to boot up and become visible in the Fluid console.
Manage!
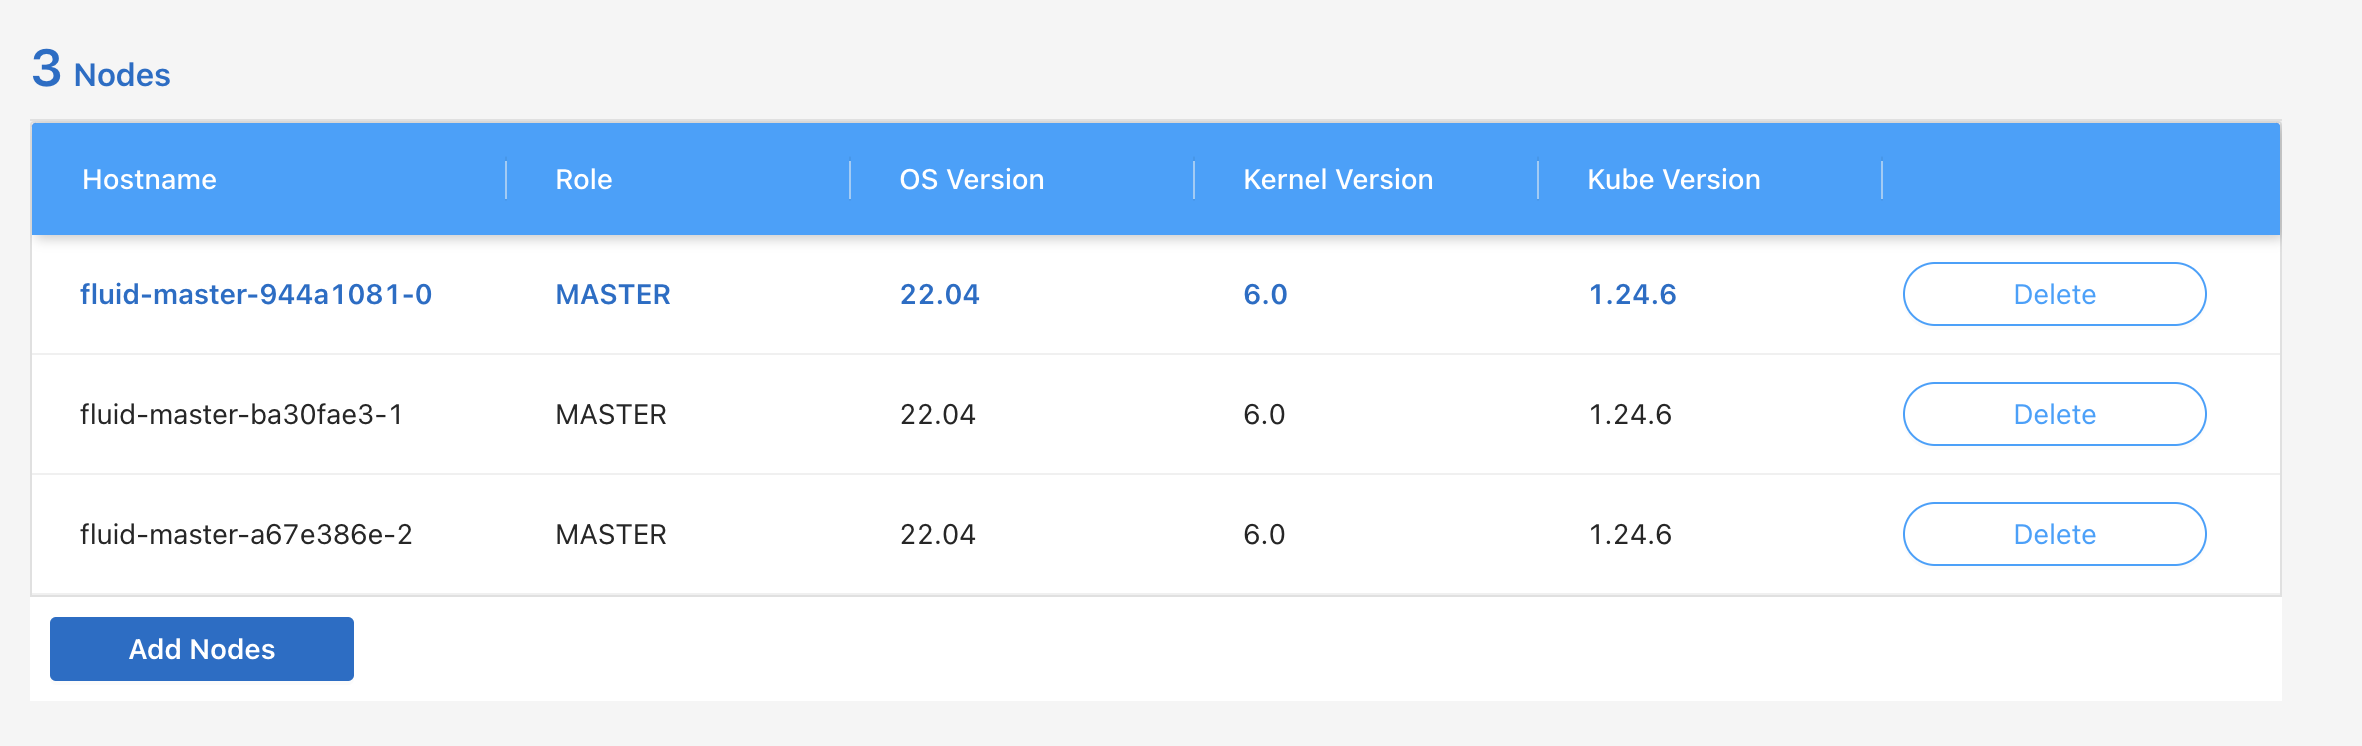
Once the servers have booted in Metal, they should now be visible in the “Nodes” section in the “Environment Details” page for your new environment in the Fluid CloudManager Console. That’s the magic, 3 nodes have been created and now we’re almost ready to create real workloads.
Should you be so interested, you can monitor the Fluid boot process via Metal’s Serial Over SSH Console.