Creating VMs
The Virtual Machine interface can be found in the Top navigation bar by selecting VMs.
Creating VM Cluster
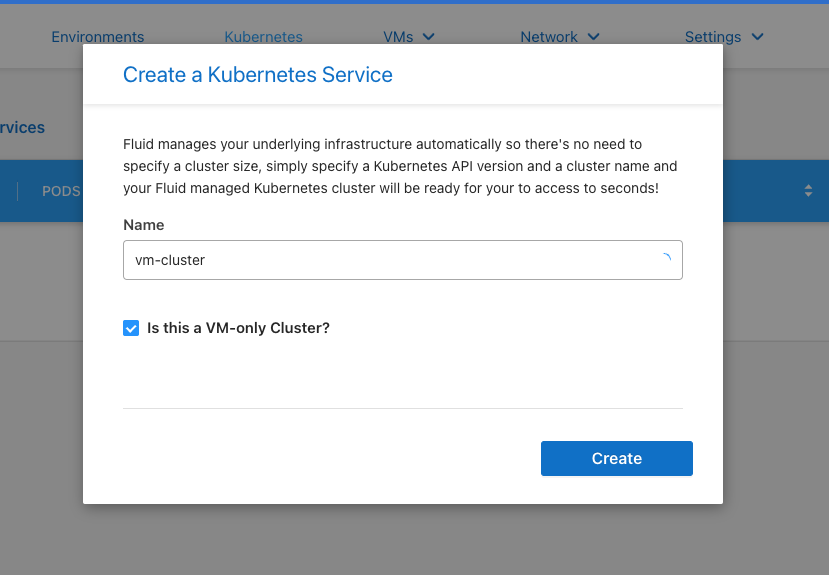
In Fluid, all VMs are associated with a Kubernetes cluster. Kubernetes clusters can be configured to have virtual machines run along-side other container workloads or only to support virtual machine workloads. Begin by defining a Kubernetes cluster by selecting “Kubernetes” from the top navigation menu and “Create” in the Kuberneres Service window.
Once this Kube cluster has been stood up, we can define our first VM.
Upload VM Boot Image
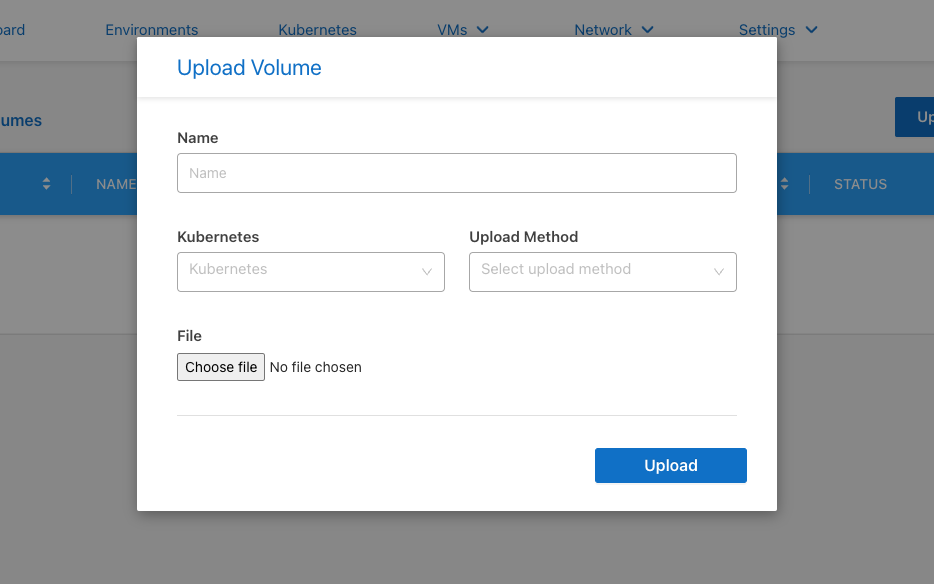
Begin by uploading a boot image by hovering over the VMs menu and selecting the “DataVolumes” drop down. In the DataVolumes interface, select “Upload Volume” to specify your first. Here you’ll find a very straightforward means of uploading your ISO image either directly or by providing a URL.
Create VM
In the VM screen, select “Create VM” to open the VM dialog.

The VM dialog should present you with a number of familiar options and some less so. Select the namespace (or Kubernetes cluster) you wish for this to run in as well as your ISO PVC DataVolume which was defined earlier.
VLAN attachments are configured in Network -> VLANs and simply attach another interface (i.e eth1+) to instance which is bridged on the host device and accessible on the host’s primary interface. These present themselves on the physical hosts as a tagged interface which can then be routed, bridged or added to a VNI as appropriate. In cloud hosted environments such as Metal, these allow for connectivity to VPC networks via Hybrid Networking.
You may define your resources as needed for your VM understanding that the resources must be available on at least one host for the VM to be scheduled. I.e. a VM can not exceed the resources available on a single node. Should you mis-matched or variably specced compute in your Fluid environment, the VM will only be scheduled to run on a machine with ample available resources.