Configure BGP on Equinix Metal
Fluid uses BGP to advertise Cluster LoadBalancers to external networks. For instance, you may wish to deploy an ingress controller or UDP service within a Fluid Kubernetes Cluster and may require access via the internet or your own internal network. This is especially powerful in Equinix Metal where a public IP can be rented and advertised to the wider internet either as a local service, or in the case of a globally distributed cluster, anycasted from multiple locations.
Enable BGP in Metal
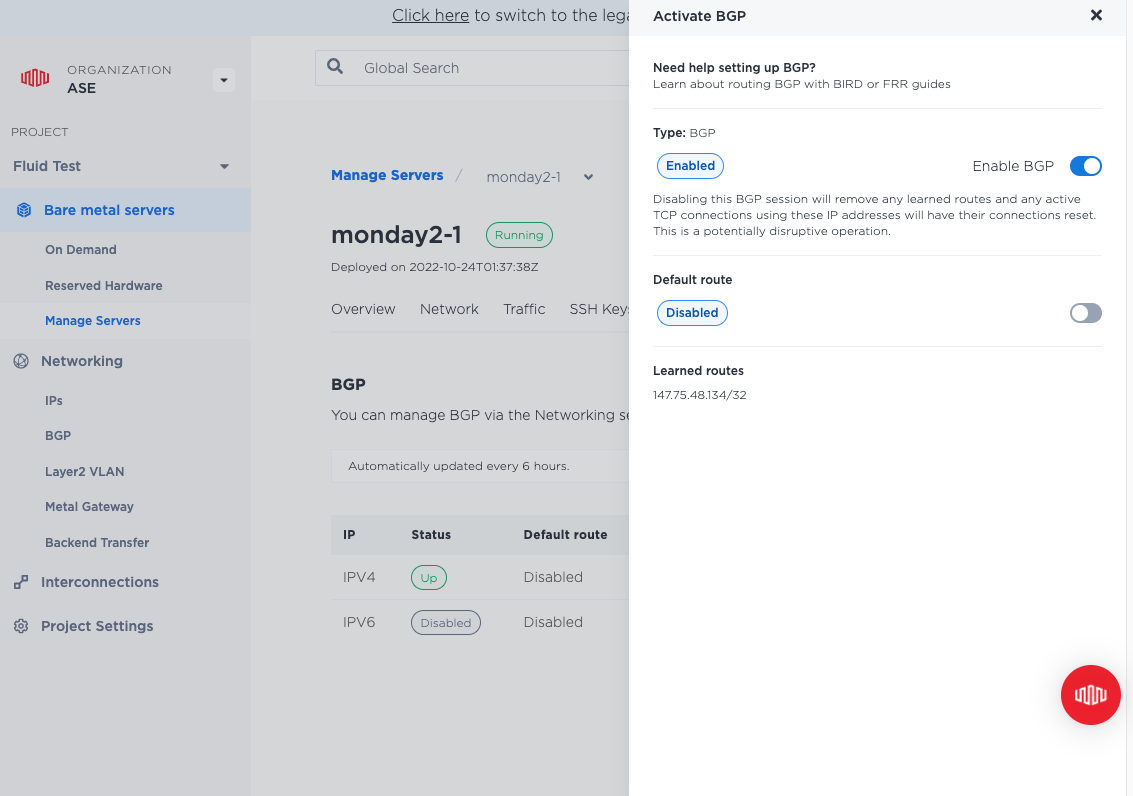
BGP needs to be enabled on a per node basis in the Metal console. Begin by entering the configuration options for your nodes under the “Manage Servers” tab and within your servers options select the “BGP” tab. Within the BGP tab, you’ll note the “Enable BGP” toggle switch which will enable your server’s BGP speaker on Equinix’s network fabric.
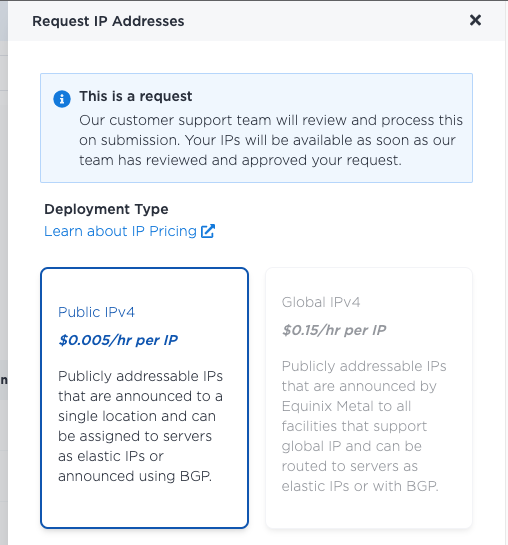
Add an Elastic IP In order advertise an accepted IP address to Metal, we need to acquire an Elastic IP. These are purchasable via the Networking -> IPs tab. Note Equinix support Public IPv4 addresses and Global IPv4 addresses. Global addresses can be advertised at any Metal location (anycast) which is ideal for geographically distributed Fluid clusters. Clusters limited to a single location should use the standard Public IPv4 address option.
Define your BGP Peers
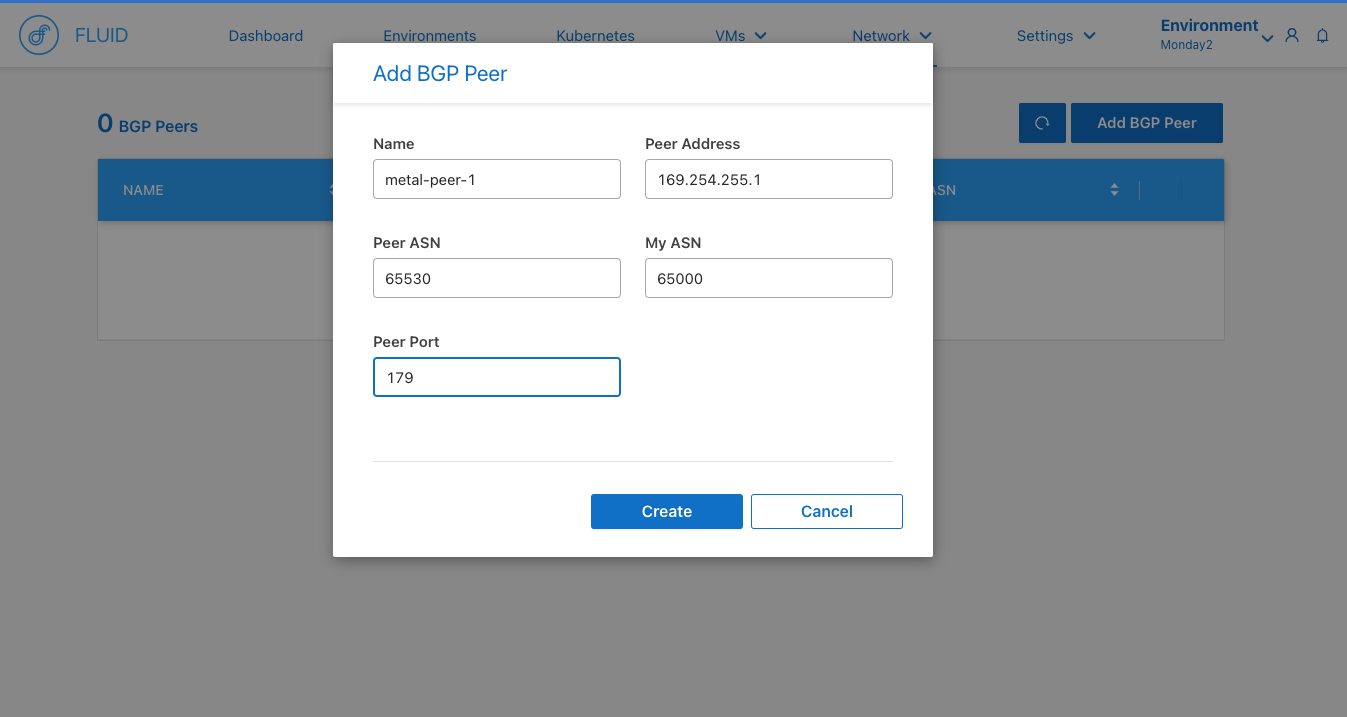
In the Fluid Console, ensure the Environment dropdown in the top right hand corner of the interface is showing the cluster you wish to configure.
Select the “Network” dropdown and the “BGP Peers” menu option. This will take you into the BGP Peers table. Use 169.254.255.1 and 169.254.255.2 as Equinix’s peer addresses and 65530 as their AS number. _Note, BGP peering is currently unsupported in Equinix IBX locations._
Advertise a Service
Confirm BGPs peering status from the Metal console. Once BGP is up, we can deploy a simple service to a Kubernetes cluster.
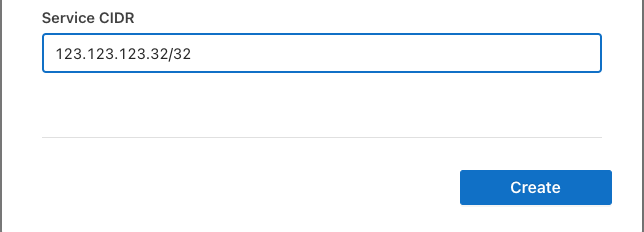
Create a new Cluster in the Kubernetes tab and ensure to pass your new Equinix Elastic IP address as the Service CIDR option.
Now we can deploy a simple service to consume this IP and advertise it to the internet. Below, we’ll deploy Project Contour and deploy a service on top of it. First we need to remove the host ports from Contour’s default manifest and apply it.
//remove hostPort lines
curl https://raw.githubusercontent.com/projectcontour/contour/release-1.23/examples/render/contour.yaml | grep -v hostPort > contour.yaml
kubectl --kubeconfig ~/fluid-ctl.yml apply -f contour.yaml
kubectl --kubeconfig ~/fluid-ctl.yml get pods -n projectcontour -o wide
Wait for Contour to complete deploying, then check to see if the LoadBalancer was deployed. Note the public IP address here.
NAMESPACE        NAME         TYPE           CLUSTER-IP       EXTERNAL-IP     PORT(S)                      AGE
projectcontour   contour      ClusterIP      100.66.160.174   <none>          8001/TCP                     1m
projectcontour   envoy        LoadBalancer   100.66.10.121    123.123.123.32  80:30178/TCP,443:32267/TCP   1m
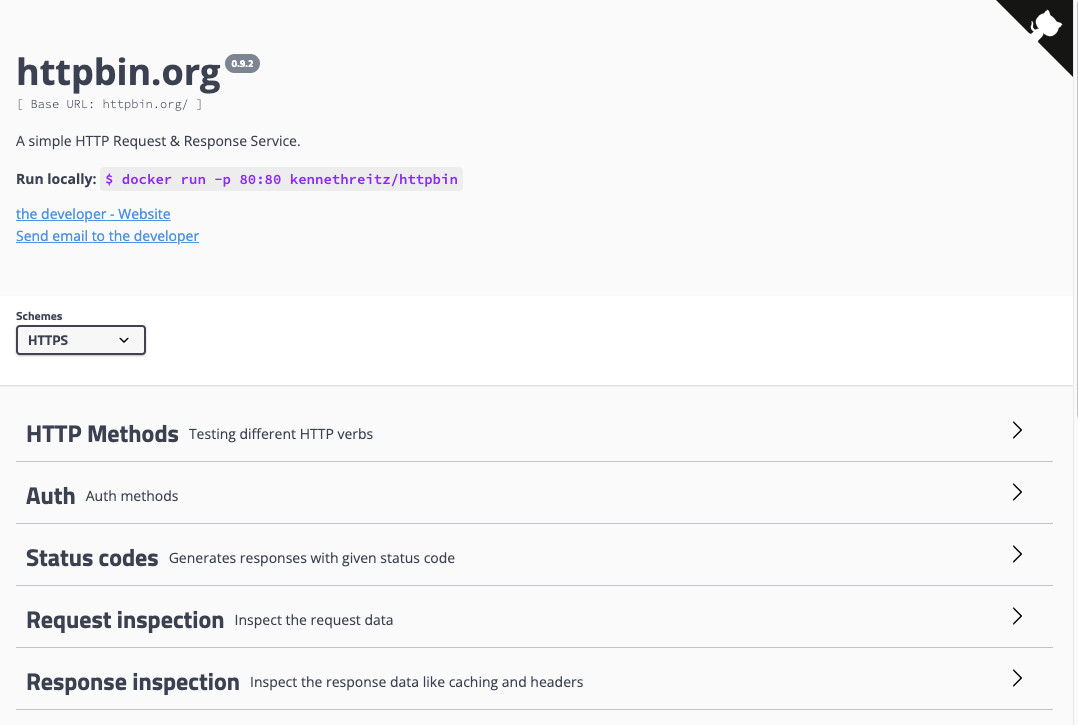
Now we’re ready to deploy a workload. Here we can use the very simple httpbin example to test a distributed workload on our Fluid cluster
kubectl --kubeconfig ~/fluid-ctl.yml apply -f https://projectcontour.io/examples/httpbin.yaml